Welcome to Google Workspace! You’ve just unlocked a powerful suite of tools designed to boost your productivity and streamline collaboration. Don’t worry if it feels a little overwhelming at first – this guide will walk you through setting up your account and getting productive from day one.
Part 1: Setting Up Your Account
The first step is getting your account ready to go. This usually involves a few simple clicks and some basic information.
1. Activate Your Account (If Applicable)
If your organization provided you with a temporary password or an activation link, start there. Follow the instructions to create your permanent password. Make sure it’s strong and unique!
2. Set Up 2-Step Verification (Highly Recommended!)
This is crucial for security. 2-Step Verification adds an extra layer of protection to your account by requiring a second verification step (like a code sent to your phone) in addition to your password.
- Go to your Google Account: myaccount.google.com
- Click on “Security” in the left-hand menu.
- Under “How you sign in to Google,” click “2-Step Verification.”
- Follow the on-screen prompts to set it up. You’ll usually add your phone number and choose a verification method.
3. Personalize Your Profile
Make your Workspace experience truly yours!
- Profile Picture: Add a professional photo to help your colleagues recognize you.
- Go to your Google Account: myaccount.google.com
- Click on your current profile picture (or the initial icon) at the top right.
- Click “Change” and upload your desired image.
- About Me Information: Update your contact details, job title, and anything else relevant that your colleagues might need to know.
- Go to your Google Account: myaccount.google.com
- Click on “Personal info” in the left-hand menu.
- Update relevant sections like “Name,” “Birthday,” and “Gender.” You can also control what information is visible to others.
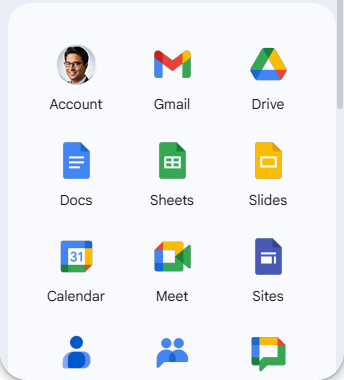
4. Explore Your Google Workspace Dashboard
Once logged in, you’ll see a grid of apps. This is your central hub for all things Workspace. Take a moment to familiarize yourself with the icons.
Here’s what it might look like:
Part 2: Getting Productive with Key Apps
Now that your account is set up, let’s dive into the core applications you’ll be using daily.
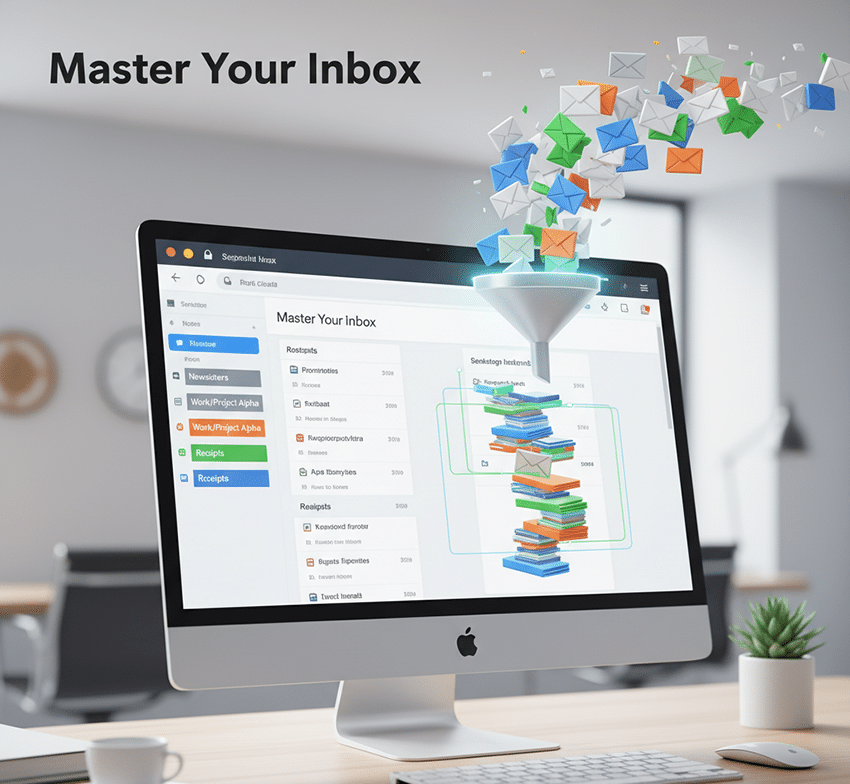
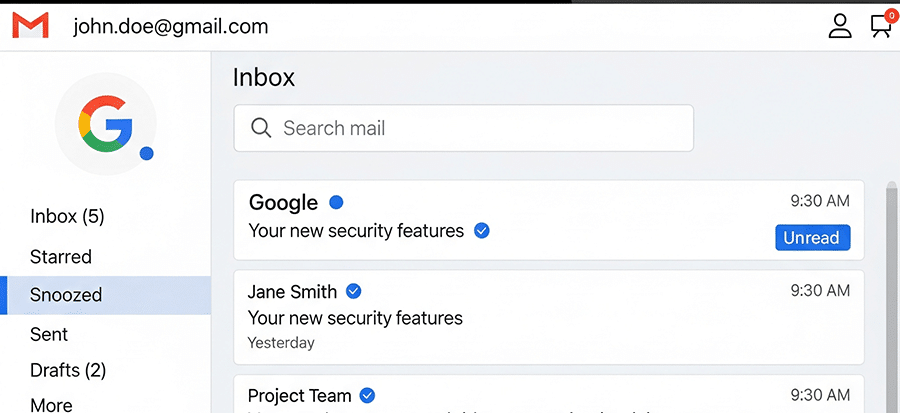
1. Gmail: Your Command Center for Communication
Gmail is more than just email; it’s a powerful communication tool.
- Sending Your First Email: Click the “Compose” button (usually a colorful plus sign). Enter the recipient, subject, and your message. Hit “Send.”
- Organizing Your Inbox:
- Labels: Create custom labels (e.g., “Project X,” “Urgent,” “To Do”) to categorize emails.
- Filters: Set up rules to automatically apply labels, archive, or delete emails based on sender, subject, or keywords.
- Stars & Snooze: Use stars for important emails you need to follow up on, and “Snooze” to temporarily hide emails until you’re ready to deal with them.
- Smart Reply & Nudges: Gmail often suggests quick replies and reminds you about emails you might have missed.
2. Google Calendar: Your Scheduling Assistant
Keep track of your meetings, appointments, and tasks with Calendar.
- Creating an Event: Click on any time slot, or the “Create” button. Add a title, date, time, and invite guests.
- Inviting Guests: Enter your colleagues’ email addresses, and they’ll receive an invitation. You can see their availability (if they share their calendar).
- Joining Meetings: If a meeting has a Google Meet link, you can join directly from the calendar event.
- Sharing Calendars: Share your calendar with colleagues to make scheduling easier.
3. Google Drive: Your Cloud Storage and Collaboration Hub
Drive is where you store, create, and share all your files.
- Uploading Files: Drag and drop files directly into your Drive, or use the “+ New” button.
- Creating New Documents: Use “+ New” to create Google Docs (word processing), Sheets (spreadsheets), Slides (presentations), and more. These are cloud-native and automatically save.
- Sharing Files & Folders: Right-click on any file or folder, select “Share,” and enter the email addresses of people you want to share with. You can set permissions (view, comment, or edit).
- Real-time Collaboration: When you share a Doc, Sheet, or Slide, multiple people can work on it simultaneously, seeing each other’s changes in real-time.

Dexter is a seasoned system engineer with a passion for all things tech. His analytical mind thrives on solving complex problems, whether it’s optimizing code or configuring Linux servers. When he’s not immersed in work, you’ll find Dexter gaming, exploring anime and manga, and staying up-to-date with the latest tech trends. His life motto? “In code we trust.”